Recipes
Chocolate Mousse
by Iona Berry
3min read
This light and airy mousse is rich from chocolate and creamy from the whipped aquafaba. It is easy to make, provided that you have an electric whisk on hand. I have not attempted to make this mousse by hand and I highly suggest that you don’t try either as it will take significantly longer. You can change up the flavours in the mousse by using a darker chocolate or adding another tablespoon of maple syrup for a sweeter mousse. I love to serve this mousse with whipped vegan double cream and some toasted hazelnuts but you can really experiment with the toppings, fresh raspberries and toasted coconut flakes would also be delicious. Once you learn how easy aquafaba is to work with, you won’t look back.
Prep Time
30 mins
Cook Time
no cooking but needs 6 hours in the fridge minimum
Serves
2
Ingredients
Mousse:
80g vegan dark chocolate (I used galaxy 70% cocoa)
135ml aquafaba
½ tsp lemon juice
1 tbsp maple syrup
A pinch of salt
Garnish:
20g vegan dark chocolate (I used a vegetable peeler to make chocolate flakes but finely chopped would also be nice)
Cocoa powder for dusting (optional)

Method
STEP 1
Break up the chocolate into small pieces and place into a heat safe bowl (glass is best as you can see exactly how the chocolate is melting).
STEP 2
Add a couple of inches of water into a saucepan and bring to a gentle boil. Place the glass bowl with the chocolate on top of the saucepan. Make sure that the water is not touching the bottom of the bowl, as that could cause the chocolate to split. Once the chocolate has melted, remove the bowl from the heat and leave to cool.
STEP 3
Next up you need to whip up the aquafaba. Take a large bowl and make sure that the bowl is free from any grease as this will stop the aquafaba from whipping. Add the lemon juice and aquafaba to the bowl and using an electric whisk (or stand mixer) begin to beat the aquafaba.
STEP 4
Gradually increase the speed on the electric whisk until you have stiff peaks. Luckily with aquafaba you can’t overwhisk but it’s crucially important that you achieve stiff peaks because if you don’t, when you add the melted chocolate they might loosen.
STEP 5
It will take roughly 10-15 minutes using an electric whisk and the safest way to check is to turn the bowl upside down. The aquafaba should not move or begin to slip down the edges of the bowl, so if it does then keep whisking for another 5 minutes and check again.
STEP 6
Once the chocolate has cooled slightly and you are ready to combine the chocolate with the whipped aquafaba, quickly stir through the maple syrup and salt to the chocolate. Then add the chocolate to the aquafaba and using a folding motion with a spatula, begin to combine the two together until you have an even colour.
STEP 7
Place into your serving bowls/glasses of choice and leave to set in the fridge for a minimum of 6 hours but best overnight.
STEP 8
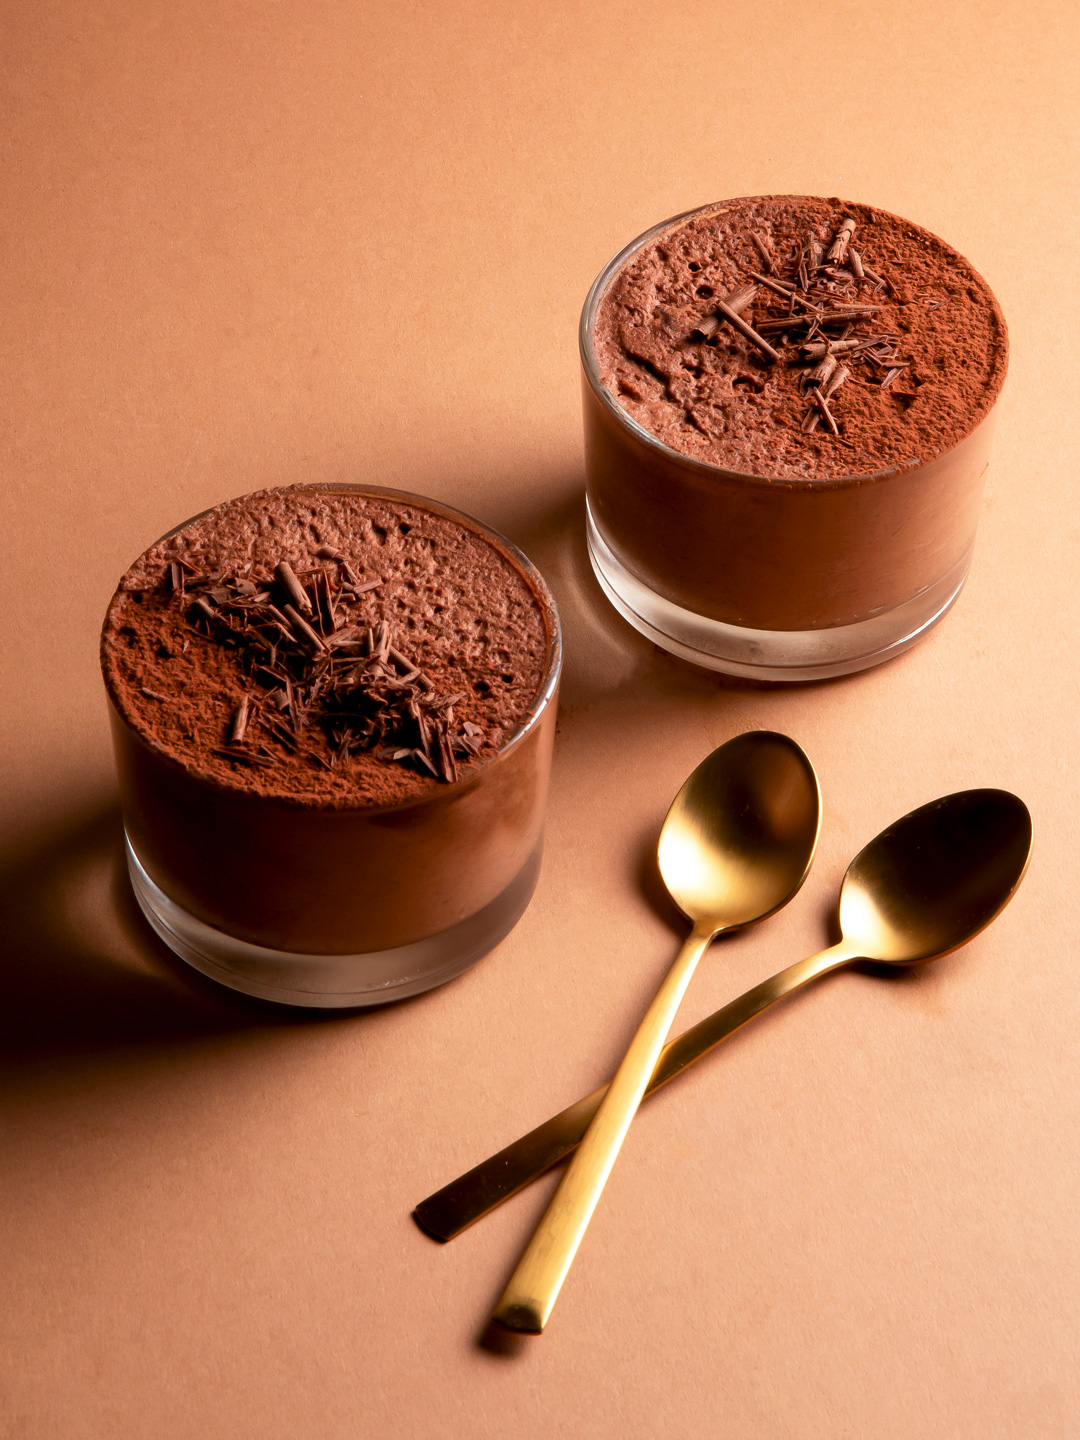
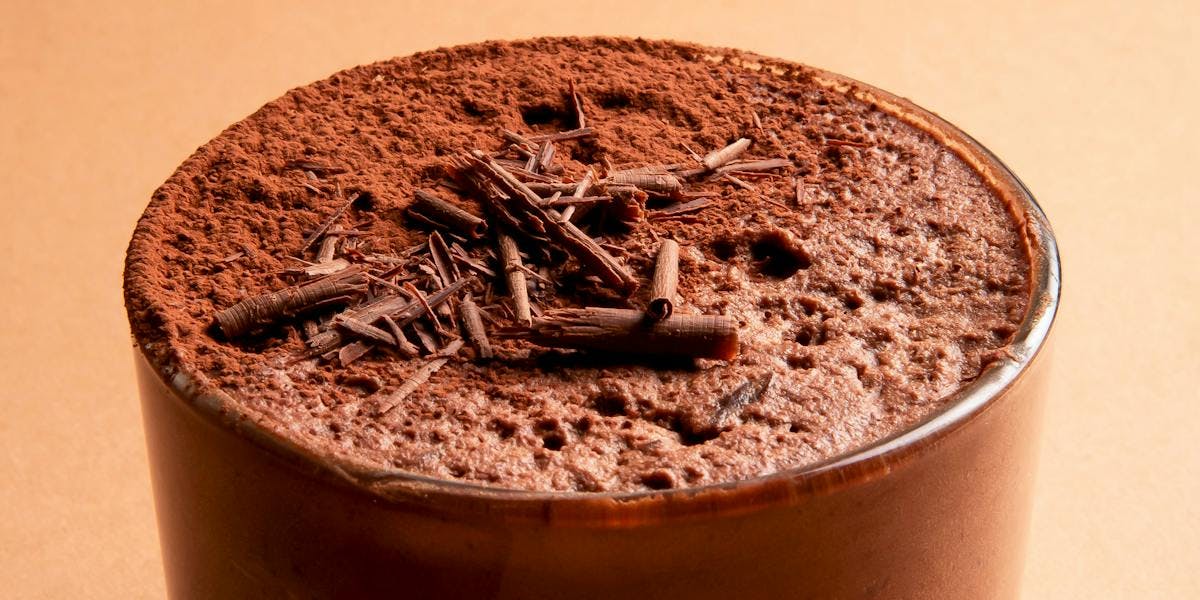
Serve with chocolate shavings, cocoa powder or whipped vegan double cream.
By Iona Berry
Iona is our Development Chef, aka our go-to girl for developing, testing and tasting delicious dishes for you to all enjoy at home. When she’s not in the kitchen, you’ll find her either running or cycling, or trying out food markets and new restaurants around London. Continuous market research it would seem.
Let us take care of dinner
After getting creative in the kitchen, give yourself the weekend off by letting us take care of dinner. Check out our delicious meals here.
Shop now
