Recipes

Vegan Baking Basics: Sponge
by Flo Cornish
6min read
This vegan sponge recipe is the only one you will ever need. Fluffy, pillowy and versatile, it's the perfect base for anything from cupcakes to tray bakes. Designed by a pastry chef, it comes together with just a handful of easy to find ingredients.
Hi, I’m Flo, a trained pastry chef and lover of all things baked. If you’re new to vegan baking, or just looking to find easy and delicious bakes, you’ve come to the right place. I’ll be taking you through a baking course, from building blocks to basics, and beyond. Next up: sponge.
Is there any better foundation to start baking with than a sponge? No? Correct. A vanilla sponge cake can cover you for so many types of baked goods – sheet cakes, cupcakes, round layer cakes, traybakes. Think of all the weeks of Bake Off (except bread week...we’re not magicians) and you’re covered with a sponge of some sort.
With just a few simple substitutions to your normal sponge, this vegan cake recipe is fluffy, light and you’ve probably already got the ingredients. It’s also super reliable, and will put an end to your googling of “how to stop vegan cake from sinking”. Once you’ve mastered this one (which you’ll do in about 10 minutes) you can mix up the flavours, no problem. Lemon, lime, chocolate, nuts...the world is your cake tin.
Before we get started, here are my top tips for the perfect vegan sponge cake... (or if you'd like to skip the washing up, take a look at allplants chef-made desserts).
Keeping vegan sponge risen
One thing I hear a lot is that vegan sponge cakes sink when taken out of the oven, or are just a bit dense and heavy. There’s a few possible reasons why.
The first is a baking classic, in common with its dairy friends: don’t open the oven too soon or too much during baking, wait until at least the minimum range on the timer before checking your cake (it should be slightly domed on top and golden brown). When you do, open the oven as little as possible to stop the heat escaping, in case your sponge needs longer to bake.
The second trick to a well risen vegan sponge is the raising agent; make sure it’s in date before using it to make sure you don’t end up with a sad sponge.
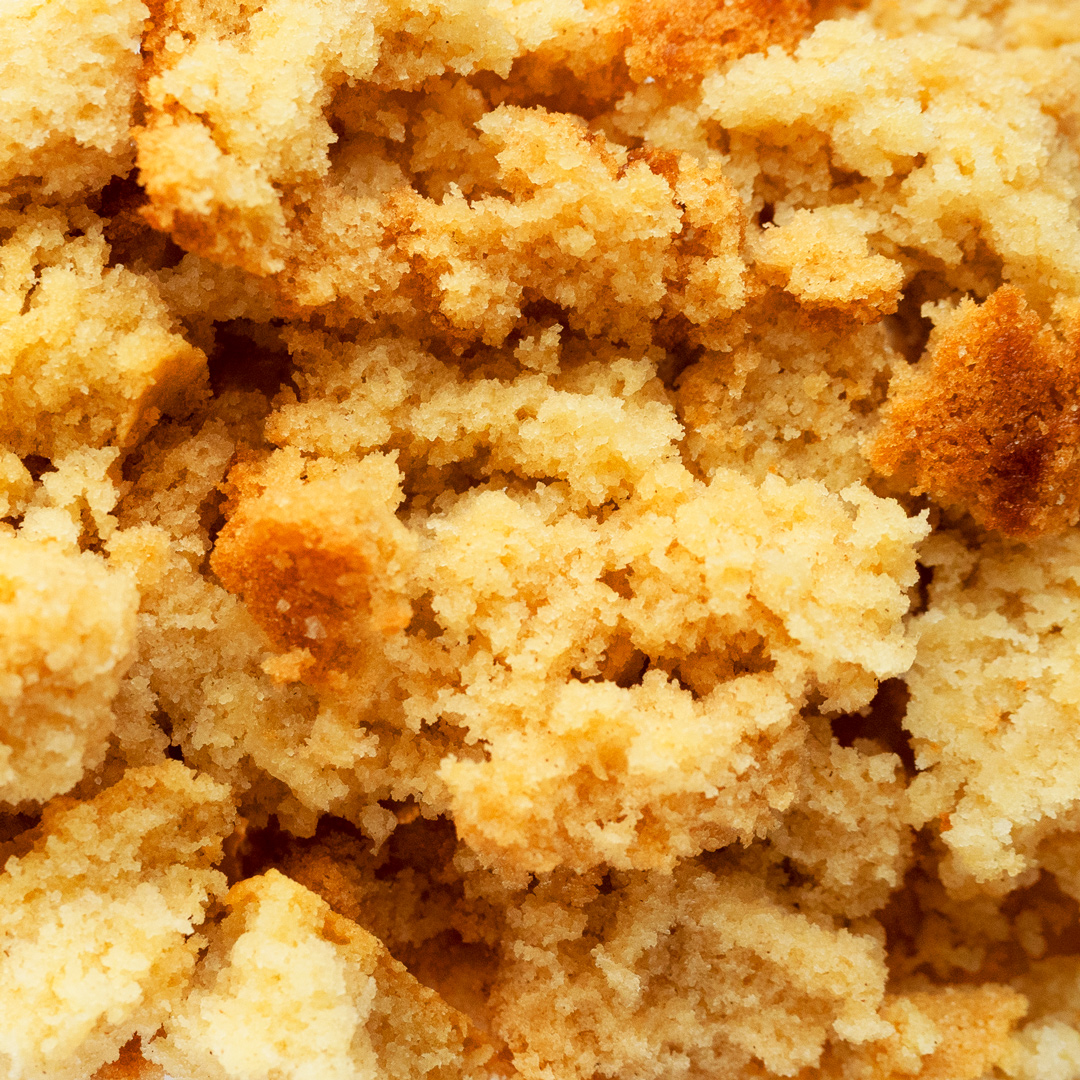
Getting your vegan sponge cake fluffy
As I mentioned above, a key to a fluffy vegan sponge is making sure you don't overmix it. As soon as the batter has come together and is smooth, STOP. Too much mixing means the gluten in the flour develops and it becomes tough. In this case, less is most definitely more.
Adapting vanilla sponge to different flavours
Chocolate
To make this a chocolate sponge, just replace 50g of flour with cocoa powder and add in ½ tsp of espresso powder. The coffee really boosts the chocolate flavour. Mmmmmmm
Citrus
For an orange / lemon / lime cake, just add in the zest of 2 fruits right at the beginning stage when you are whipping the spread and sugar. This releases the oils in the zest, improving the flavour even more.
Tray bakes
This sponge is super versatile and also works great as a tray bake. Just make a double batch of the sponge as specified in the recipe, pour into a greased and lined rectangular tin (27cm x 20cm), top with...well...anything (I like to dot in fresh raspberries and flaked almonds) and bake for 30 minutes at 180C (160C Fan)

Prep Time
25mins
Makes
Enough for 1 x 8 inch cake or 12-18 cupcakes
Ingredients
Vegan Sponge:
100ml vegetable oil, or sunflower oil
1 tsp vanilla extract
160ml tepid water
275g self raising flour
200g caster sugar
1 tsp baking powder
¼ tsp salt
Method
STEP 1
Preheat oven to 160C fan / 180C conventional oven. Grease and line your cake tin (or two if using sandwich tins) and put to one side.
STEP 2
In a jug, measure out the wet ingredients - the oil, water and vanilla extract. In another bowl, measure out your dry ingredients which are the flour, sugar, baking powder and salt. Give these a light whisk to combine.
STEP 3
Gradually pour the wet ingredients into the dry ingredients, whisking constantly until you have a smooth batter.
STEP 4
Pour the mixture into the cases and bake for 35-40 minutes (you may need a little less time with two separate sandwich tins). Check they are cooked through by inserting a skewer into the middle of the cakes. If it comes out clean, with no wet batter on it, you’re good to go.
STEP 5
Leave to cool then decorate.
By Flo Cornish
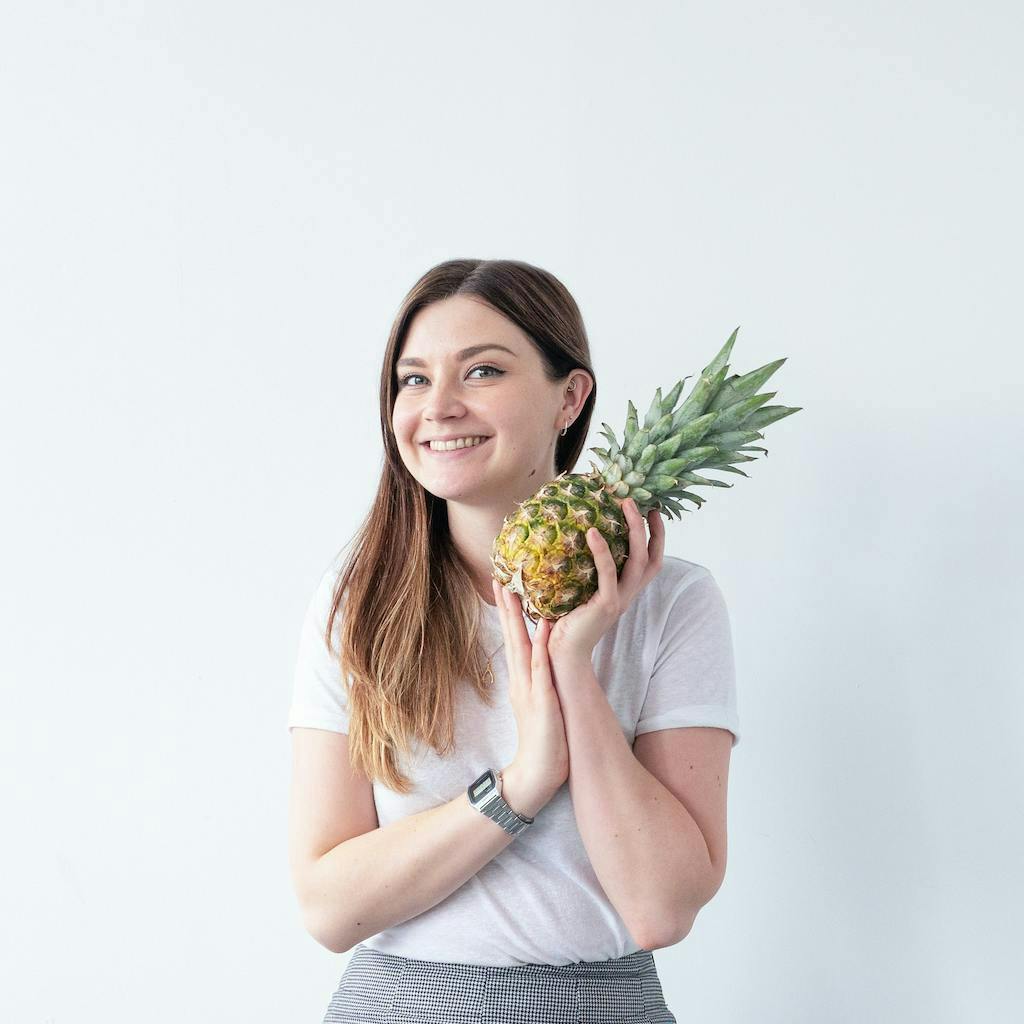
Flo is our tea-obsessed (Yorkshire, to be precise) Development Chef. You’ll find her dreaming up tasty menu additions, working her way through a serving (or three) of our Tempeh Rendang Curry, or daydreaming about a holiday. Or baking – she’s a trained pastry chef… no wonder she’s so popular...
Let us take care of dinner
After getting creative in the kitchen, give yourself the weekend off by letting us take care of dinner. Check out our delicious meals here.
Shop now


