Recipes

Mochi Ice Cream
4min read
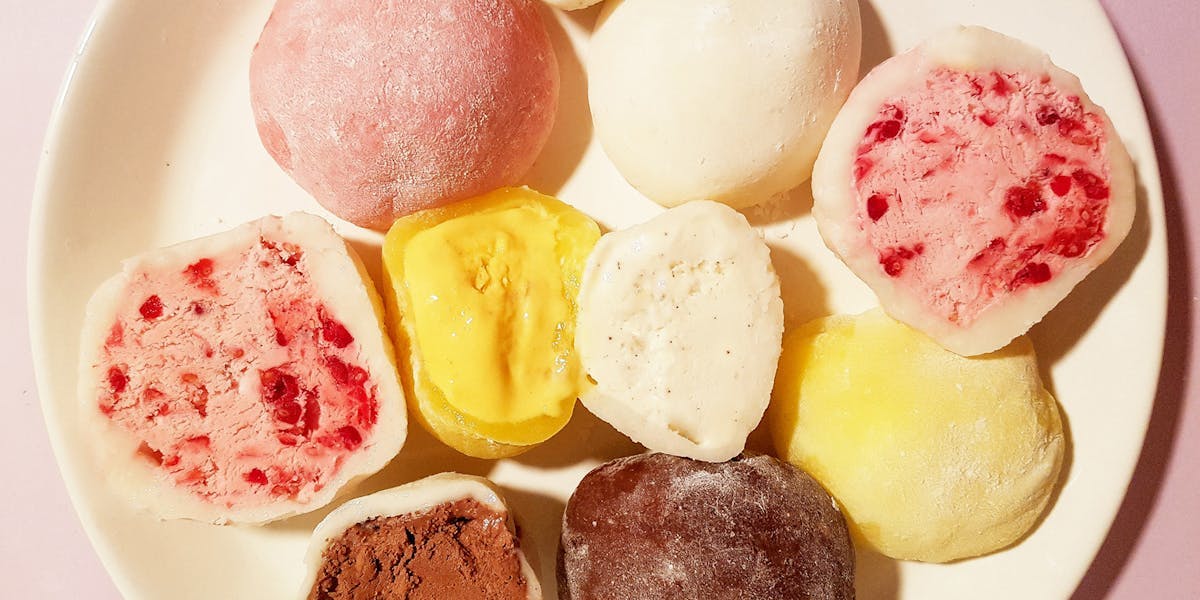
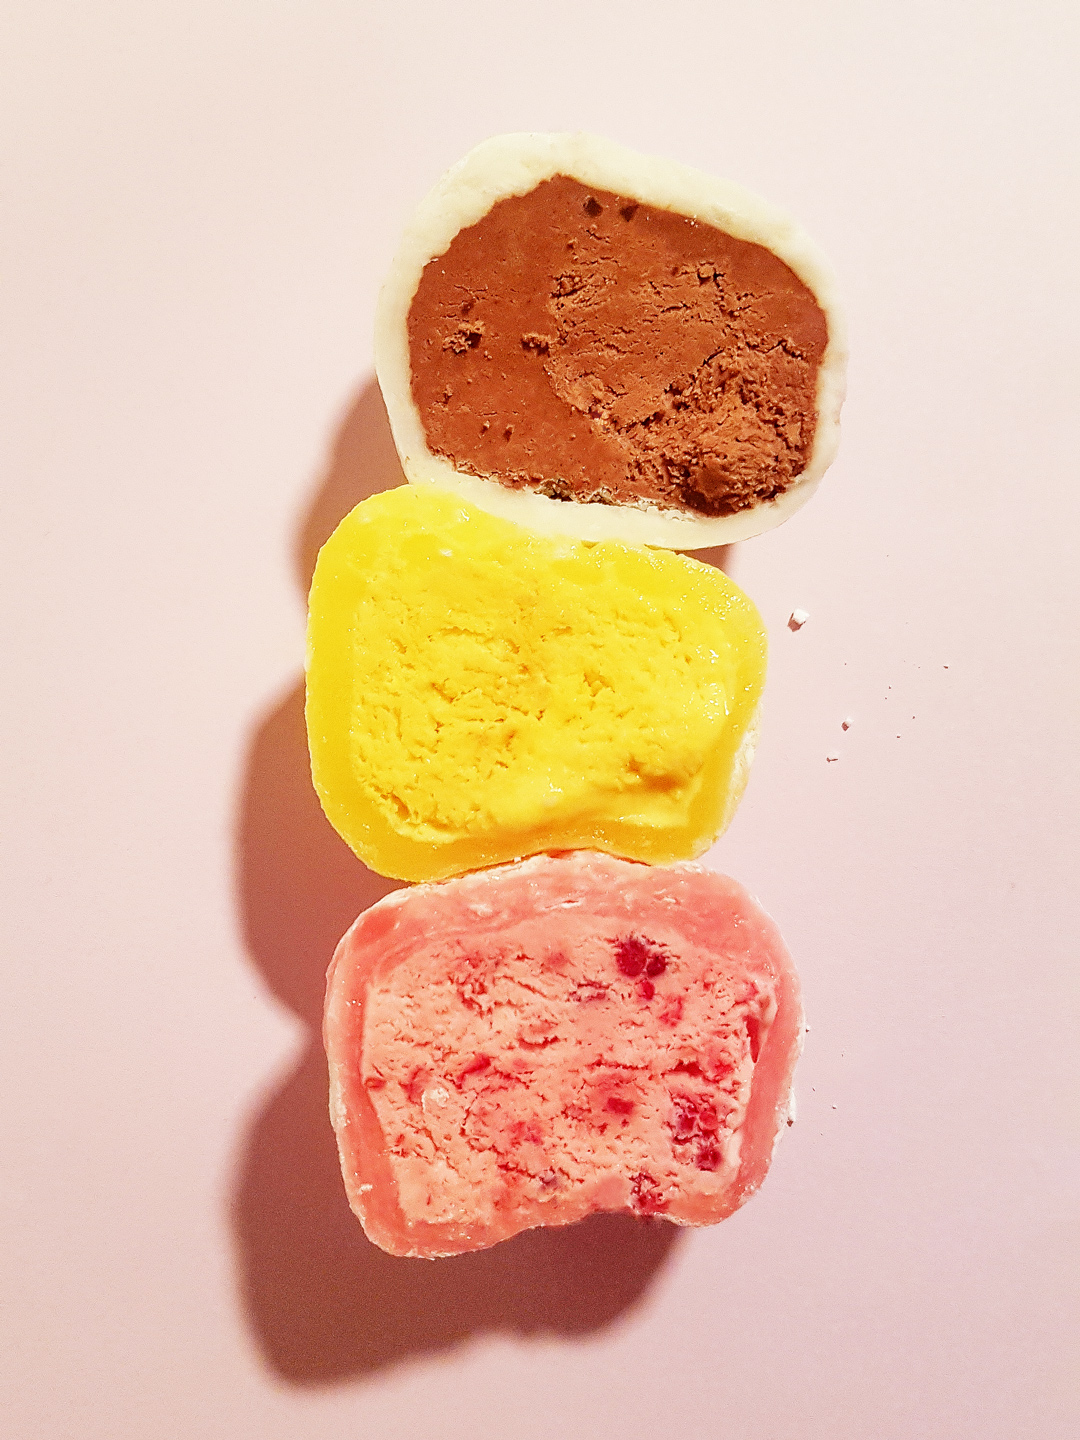
It might be a cold, bleak winter outside, but that hasn’t stopped people from finding a new found love for this round, fluffy form of frozen dessert: mochi ice cream. These colourful, chewy rice cakes, wrapped around balls of ice cream are an irresistible snack. Whether you store in the freezer for later or tuck in straight away, these little rainbow gems are definitely worth your time.
Rice cakes are prevalent in many countries especially in Asia, varying in forms; from filled to plain, savoury to sweet or served on special occasions to eaten as street food. Mochi is a type of pounded Japanese rice cake, available in sweet and savoury. They are traditionally made in a laborious ceremony called mochitsuki, where they pound mochigome (short-grain glutinous rice) to make mochi to celebrate the start of the new year. They are also eaten all year round, in the forms of Daifuku (filled with anko or sweet red bean paste), Isobeyaki (warm, savoury mochi served with soy sauce, wrapped in seasoned, dried seaweed), Sakura mochi (pink coloured mochi usually filled with anko to celebrate cherry blossom viewing in spring) and many more.
Frances Hashimoto, who is credited as the inventor of mochi ice cream, started the idea with the hope of preserving Japanese culture amongst younger Japanese Americans in South California. Since then, mochi ice cream has gained popularity here in the west and the rest of the world. Now we get to enjoy these little treats from the comfort of our own home; not only celebrating mochi as these colourful, tasty snacks but also their origin.
Prep Time
2 1/2 hours
Cook Time
5 mins
Serves
6 mochi
Ingredients
Ingredients
½ cup glutinous rice flour
90ml water
1 cup sugar
Cornstarch, for dusting
Food colour, optional
For the Ice Cream Filling
Ice cream, flavour of choice
Ice cream scoop
Round silicone mould (I’ve used either muffin cases or cake pop mould for shaping ice cream)
Method
STEP 1
Prepare mochi filling. Start by scooping ice cream into the round moulds. Then store in the freezer for around one hour until rock solid. The more solid the better, as we need the ice cream to not melt quickly when assembling later.
STEP 2
Make your mochi. Start by mixing flour, sugar and water in a large bowl (it should be quite a loose consistency). You can add a drop or two of food colour to give your mochi a vibrant hue. Typically colour is added to help differentiate filling flavours, but then you can also add colour just for fun. A lot of people choose to microwave theirs (and if you choose to do so, make sure you use a microwave safe bowl for this) but I personally find cooking it on the pan makes the rice cake cook more evenly and easier to mix, rather than taking the bowl in and out of the microwave to stir.
Once you have the mixture, heat in a non-stick pan over medium heat. Using a non-stick spatula (I find silicone ones do the trick), keep stirring for around 5 minutes until you get a very sticky dough consistency.
STEP 3
As you wait for your dough to cool, dust a smooth flat tray or sheet of parchment paper with cornstarch. Once cool enough to handle, scrape dough out of the bowl using a wet spatula, onto the prepared dusted surface. Then dust the top of the dough with more cornstarch. Then use a rolling pin (also dusted with flour), roll dough to a around 2mm-4mm thickness. Once done, place dough in the fridge for around half an hour to cool further.
STEP 4
Remove dough from the fridge and use a cookie cutter or glass to cut circles (if you use a glass, dust rim with flour to prevent dough from sticking).
STEP 5
Take one ice cream ball out of the freezer and place it in the middle of the dough cut out, with the rounder side of the ice cream facing down. Then lift sides of dough, one by one to cover the rest of the ice cream ball, pinching a bit to seal the top. Make sure to work as quick as you can to prevent the ice cream from melting. Pop the mochi back in the mould in the freezer, one by one as soon as you finish one. Once done, rest the mochi in the freezer for another hour to harden ice cream before serving. Enjoy!
By Aliza de Lima

Aliza is our Junior Creative, in between running out for copious amounts of coffee and snacks (give her a biscuit and she's your best friend). On her day off you'll find her exploring an exhibition, and having a chat over our Mac & Greens.
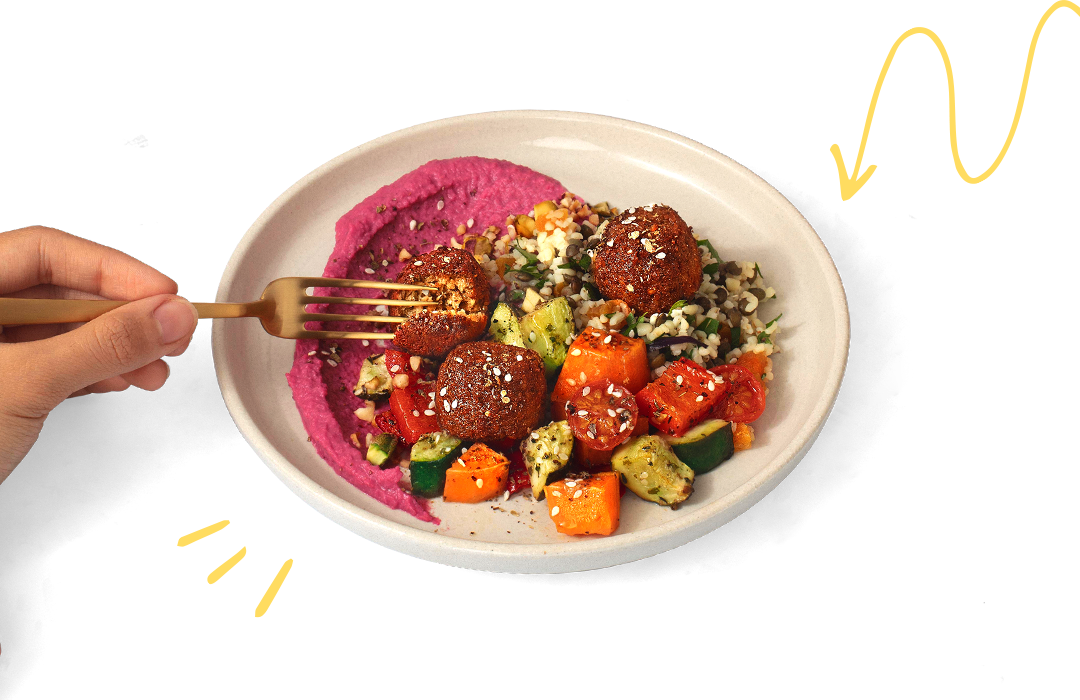
Let us take care of dinner
After getting creative in the kitchen, give yourself the weekend off by letting us take care of dinner. Check out our delicious meals here.
Shop now


