Recipes
Vegan Chocolate Fudge Ice Cream
3min read
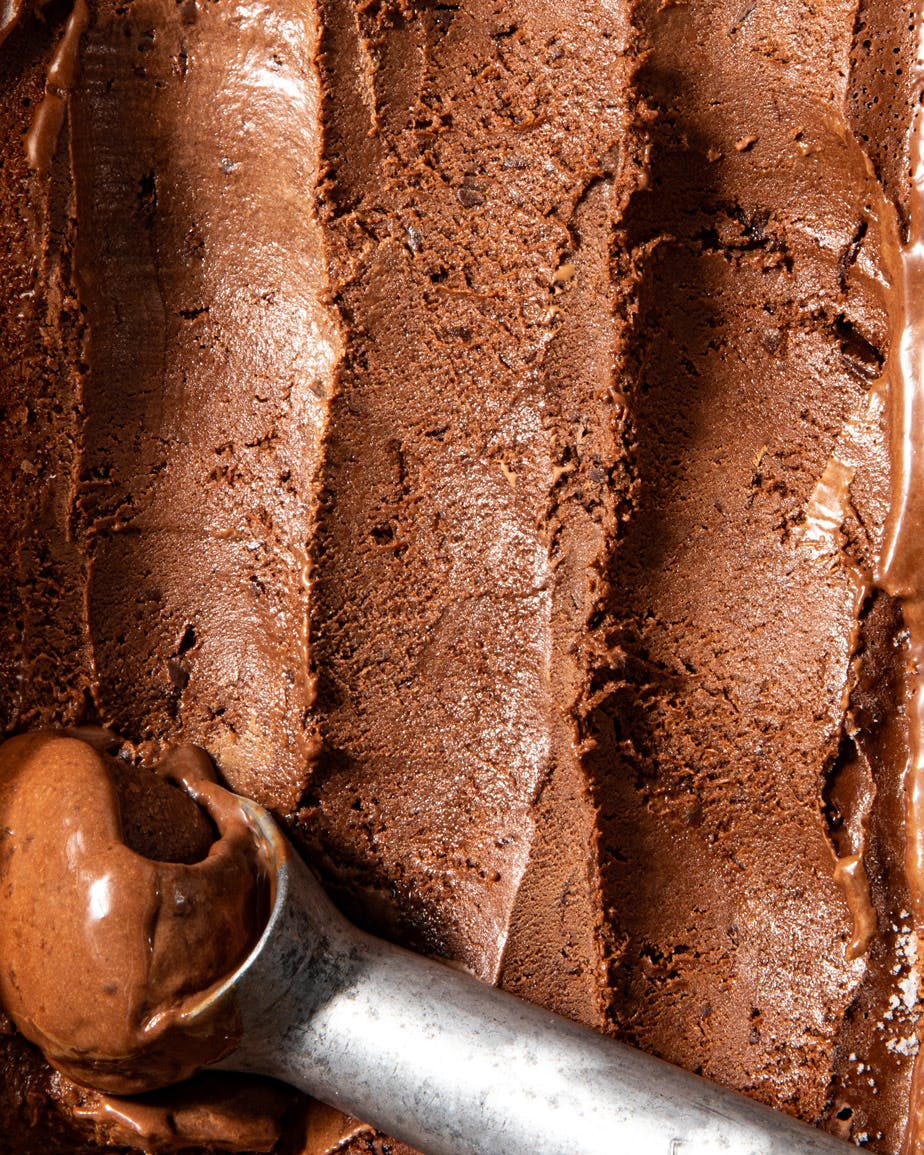
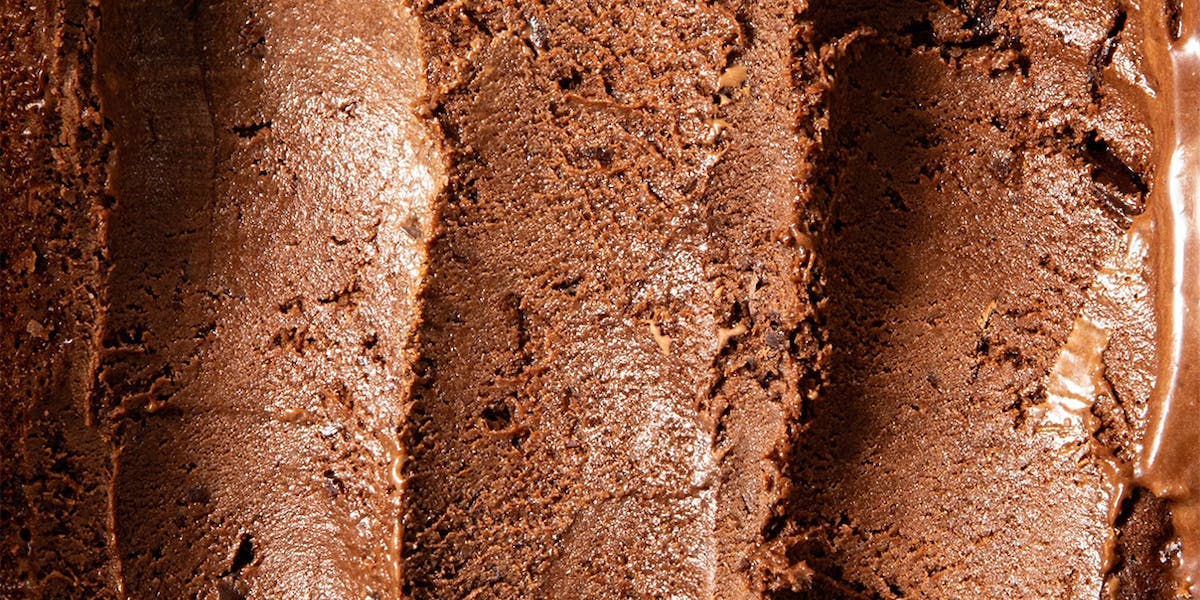
This no-churn, creamy, fudgy, rich vegan chocolate ice cream doesn’t require an ice cream maker or any fancy equipment. Instead, it comes together in one saucepan with plant based cream, chocolate, sugar and cocoa powder. The result is a life-changing (yes, really) ice cream that you’ll be making all summer long.
This ice cream and I had quite a journey. What started as what was a failed chocolate ice lolly experiment quickly turned into the pursuit to create a vegan ice cream that was extremely creamy (emphasis on extremely), tasted rich and indulgent, and didn’t require ingredients like cocoa butter and cashews. Here, the cream, chocolate and sugar create a fudge-like base, whilst the plant based milk gives it just enough crystals to solidify and freeze. The best results I’ve had with this were using oatly whippable cream, which has a double cream-like consistency and oatly barista milk. The high fat content in both means they react really similarly to their non-vegan counterparts and results in extreme creaminess and richness.
You might notice the amount of salt in the ingredients list seems quite high. One tsp of salt in a dessert is a larger amount than usual, and that’s both because salt and chocolate is possibly the best combo since strawberries and cream and I feel like it really needs to stand out, but it’s also because once frozen, desserts lose around 20-25% of their flavour. Feel free to dial the salt back to ¼ - ½ tsp if salted desserts aren’t your thing.

Prep Time
30 mins (+ freezing)
Cook Time
5 mins
Serves
6-8
Ingredients
500ml oatly whippable cream
220g caster sugar
2 tbsp (15g) cocoa powder
140g dark chocolate, finely chopped
1 tsp vanilla extract
1 tsp salt
160ml plant based milk
Method
STEP 1
Add the cream to a small saucepan and heat it over medium heat. Bring it to a gentle simmer, then add the sugar, cocoa powder and chopped chocolate.
STEP 2
Whisk the mixture for 5-6 minutes, until the chocolate has fully melted and the sugar has dissolved.
STEP 3
Next, whisk in the vanilla extract and salt. Remove the saucepan from the heat and let the mixture cool for 45 minutes - where it will continue to thicken. Once it has cooled, whisk in the milk until fully incorporated.
STEP 4
Pour the mixture into a large loaf tin or a small baking dish. Place a piece of cling film or parchment paper over the tin and press it down gently so it touches the surface of the ice cream mixture - this helps prevent the formation of excess crystals in the ice cream.
STEP 5
Freeze the ice cream for at least 6-8 hours.
STEP 6
Remove the ice cream from the freezer 5-10 minutes before serving.
By Valentina Concordia
Valentina is our Food Editor, who dreams up our tasty dishes and recipes for our social channels. She has loads of experience cooking up a storm in Italian kitchens, so it’s no surprise she can’t live without good-quality olive oil (don’t come between her and her olive oil) and fresh pasta.
Let us take care of dinner
After getting creative in the kitchen, give yourself the weekend off by letting us take care of dinner. Check out our delicious meals here.
Shop now
