Recipes
Vegan Strawberry Galettes
4min read
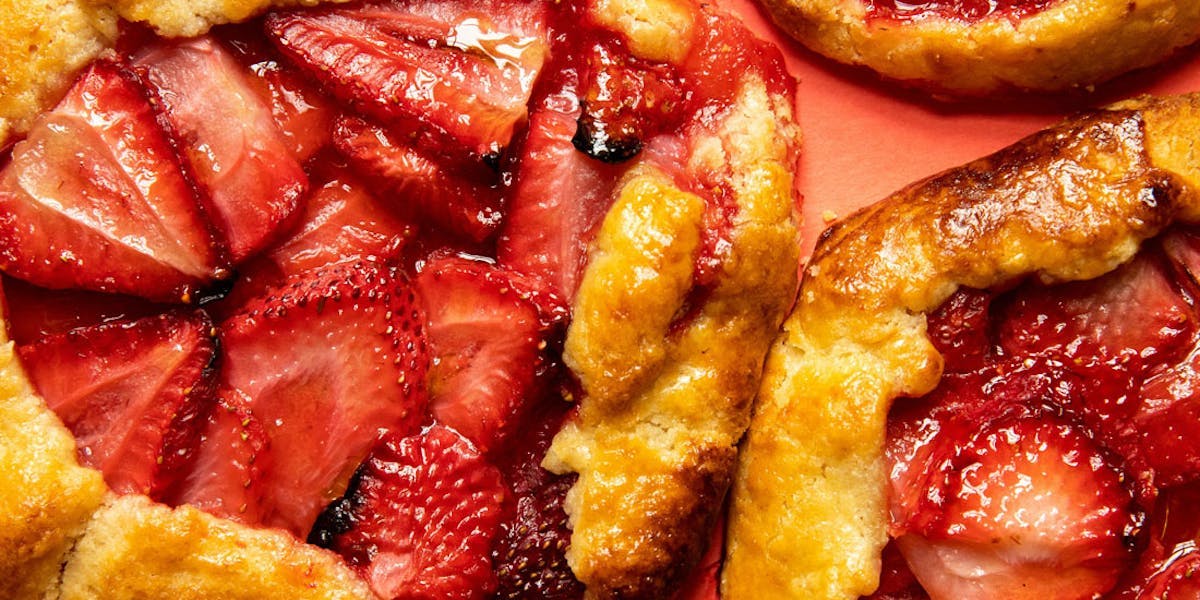
These buttery and flaky vegan strawberry galettes deliver the same joy, bursting flavour and comfort as a pie, only with half the baking time and a quarter of the hassle - whether you make one big one, or six small ones.
Why make a galette instead of pie? I'm glad you asked, there are so many reasons. The first is the crust to filling ratio. Let's be honest, the best part of pie is the buttery pastry, but slices of pie only tend to allow for a stingy amount of it and always leave you wanting more. Galettes solve that issue as they are made up of 50% pastry, 50% filling. It's pretty much a miracle.
If you're still not convinced, then let's talk about process. Pies require precision and attention. As a neither precise nor particularly attentive person, galettes and I are basically a match made in heaven. Galettes don't care if you tear the pastry, if you press down too firmly or if they're not perfectly trimmed. Any mistakes you make just add to the charm of the galette. As chilled out as galettes are however, you still want to make sure the pastry is flaky, so it's important to not skipping the chilling/fridge instructions. Keeping the butter cold and not overworking the dough are keys to great vegan and non vegan pastry.
If you're still still convinced, we can discuss the final reason galettes trump pies. Time! Galette's take less than 30 minutes to bake and don't get me started on the time you save by not striving for perfection. If you're extremely pressed for time, you don't even have to make 6 small ones - you can just make one large one by following the same method (without splitting the dough in 6 pieces).
There you have it, thank you for listening to my Ted talk. Enjoy your galettes!
Prep Time
20 mins (+chilling)
Cook Time
30 mins
Makes
6
Ingredients
Pastry:
200g plain flour
140g plant based butter block (we used naturli)
2 tbsp caster sugar
½ tsp salt
Filling:
500g strawberries, sliced
70g caster sugar
2 tbsp cornstarch
1/2 lemon, juiced and zested
2 tbsp plant based milk, for brushing
Method
STEP 1
Start by making the pastry. Combine flour, sugar and salt in a food processor and pulse to combine. Add the cold cubed butter, and pulse for 2-3 minutes, until the butter has completely broken down and the mixture is crumbly. With the food processor running, drizzle in 4 tbsp iced water, until a dough comes together.
STEP 2
Tip the dough out of the food processor and use your hands to form it into a rectangle. Wrap it up in parchment paper or cling film. Let it rest in the fridge for 1 hour. (If you don't have a food processor, you can also make the dough in a large bowl. Work the butter into the flour with a pastry cutter, or use your hands and work quickly so the butter doesn’t warm up too much.)
STEP 3
Five minutes before removing the dough from the fridge, prepare the filling. In a large bowl combine sliced strawberries, 50g sugar, cornstarch lemon juice and zest and toss to combine.
STEP 4
Remove the dough from the fridge and onto a floured surface. Split the dough into 6 even pieces and place one onto a large sheet of parchment paper. Use a rolling pin to roll the first piece of dough out into a rough circle that’s around ½ cm thick.
STEP 5
Sprinkle 1 tsp sugar over the centre of the rolled out dough, and cover with the strawberry filling, leaving 2.5cm around the edges free so these can be folded over. Fold the edges over the filling, leave the centre exposed.
STEP 6
Place another piece of dough onto the same sheet of parchment - at least 10cm from the last - and repeat the rolling and filling process. Repeat with the remaining four pieces of dough until you have 6 galettes.
STEP 7
Lift and transfer the sheet of parchment paper onto a baking tray. Place the tray in the fridge for at least 30 minutes - this helps the galettes retain their shape when baking.
STEP 8
Preheat the oven to 190˚C. Once the galettes have chilled, brush them with milk. Right before baking, lightly sprinkle the filling and crusts with sugar. Bake for 25-28 minutes, until the crusts are golden brown.
STEP 9
Let cool for at least 5 minutes before serving.
By Valentina Concordia
Valentina is our Food Editor, who dreams up our tasty dishes and recipes for our social channels. She has loads of experience cooking up a storm in Italian kitchens, so it’s no surprise she can’t live without good-quality olive oil (don’t come between her and her olive oil) and fresh pasta.
Let us take care of dinner
After getting creative in the kitchen, give yourself the weekend off by letting us take care of dinner. Check out our delicious meals here.
Shop now
