Recipes
Curried Coleslaw Sauerkraut 101
by Joey O’Hare
6min read
If you’ve visited the allplants Instagram feed lately, you might have caught one of our Instagram live cook-alongs which we’ve kicked off with a 4-part series on fermented foods. Our final instalment was Curried Coleslaw Sauerkraut.
And whilst "fermented" and "bacteria" might not necessarily be top of your ingredient list, bear with us. Not only are fermented foods a delicious addition to your fridge (great as a finishing touch on pretty much every meal), they also have a whole host of gut health benefits.
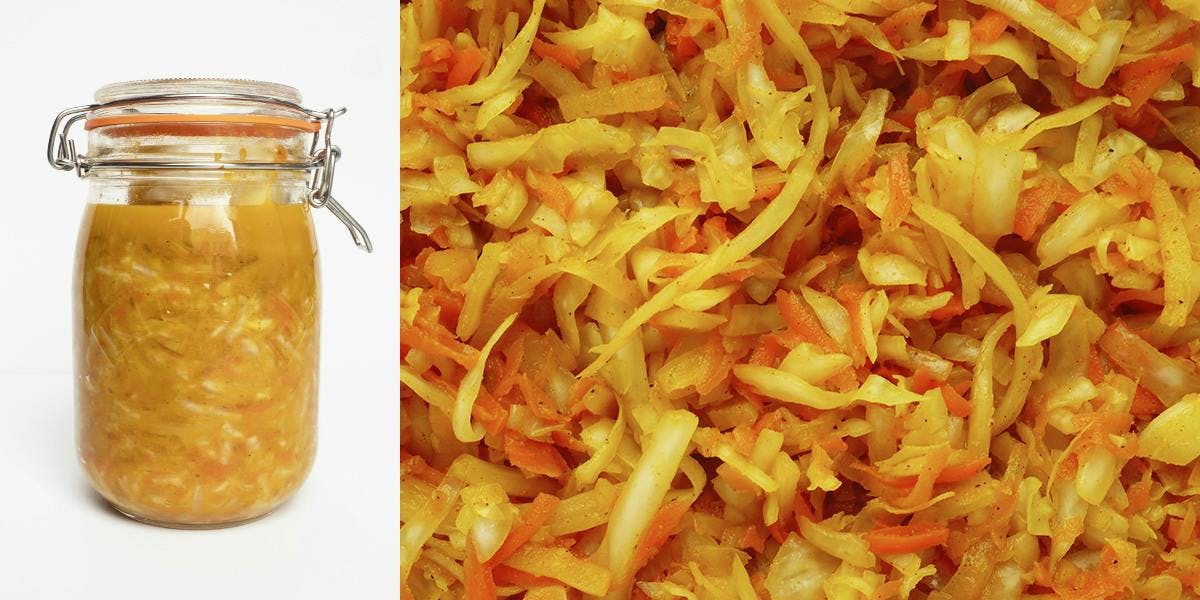
What is Curried Coleslaw Kraut?
“CCK” is a jazzed up, ostentatious, bold variation of sauerkraut! If you need a refresh on how to make a classic sauerkraut head to our Sauerkraut 101 here. The method here is the same as with sauerkraut, it’s the ‘dry method of fermentation’; this means we use a ratio of 2% salt to the total weight of prepped veggies, and in this case that’s a medley of shredded cabbage, grated carrots, and finely sliced onions.
How do I eat the kraut?
In the summer I love this yellow kraut spooned on top of a baked sweet potato along with a generous dollop or two of hummus! This ferment goes well with any and all picnic-style lunches as well … I heap spoonfuls of my curried coleslaw kraut into my lunch box salad each day and it never fails to bring a smile to my face. The list is endless - it can stand in place of a piccalilli or a chutney perfectly and will go well with so many salads, dips, and pates.
And definitely don’t waste the brine! This is packed with flavour and teeming with beneficial live bacteria. If you have left over sauerkraut liquid when you finish enjoying your kraut, try mixing it with a few spoonfuls of vegan mayo and stirring through cooked potatoes for a gut-healthy curried potato salad! Dynamite at a vegan BBQ!
Let us know how you get on - don't forget to tag @allplants in your creations.

Prep Time
25mins
Leave Time
10-14 days
Serves
16+
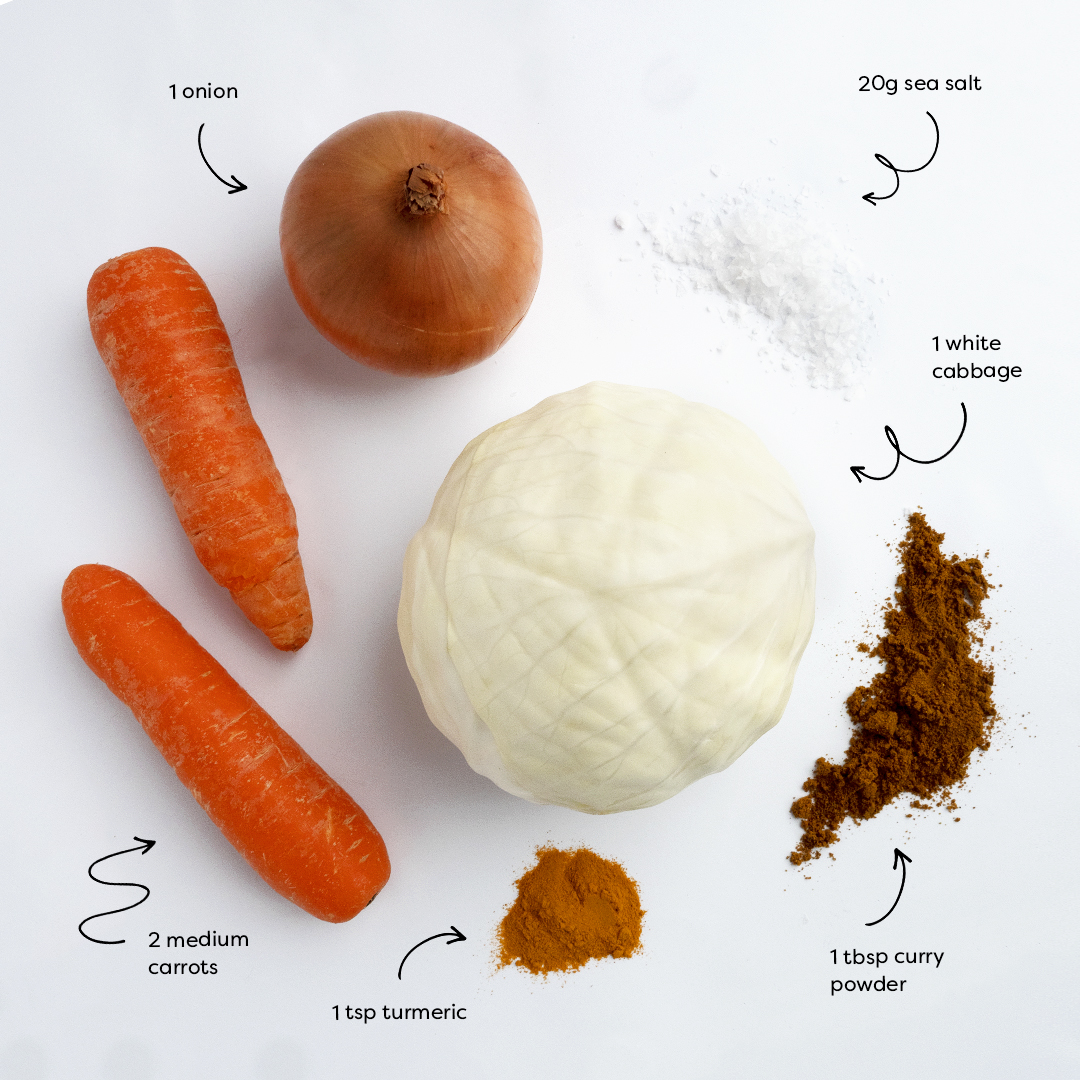
Ingredients
1 white cabbage
2 carrots
1 onion
20g sea salt
1 tbsp curry powder
1 tsp turmeric
Method
STEP 1
Work clean! Wash your hands, cabbage, chopping board and knife really well. It’s key that no harmful bacteria get involved from the beginning.
STEP 2
Sterilise your 1 litre flip-top container. Preheat the oven to 140 degrees, then wash and rinse your jar. Remove the rubber seal, then pop the open jar in the oven for 10 minutes.
STEP 3
Prepare your cabbage. Cut off the base of the cabbage and keep this to one side, it will become crucial later. Peel off and throw away the 2 external leaves.
STEP 4
Shred your cabbage. Quarter the cabbage, cut away the hard central core holding on to these offcuts, as they will be handy later! Use your sharpest knife to shred the cabbage finely, approximately 3mm thick if possible.
STEP 5
Prep your carrots & onion. Simply peel and coarsely grate the carrots, and peel the onion and slice into very thin half moons, (approx 1 mm thick if possible).
STEP 6
Weigh your veggies. Altogether you need 1 kg of veggies, so if you have a little too much once they are all combined, remove the excess and make yourself a coleslaw for later!
STEP 7
Add salt. We use a ratio of 2% here; this means 20g of salt to 1 kg of shredded vegetables. Sprinkle the salt over the cabbage and carrots etc, in your largest mixing bowl.
STEP 8
Add spices. Sprinkle in 1 tablespoon of curry powder and 1 teaspoon of turmeric.
STEP 9
Scrunch! If you’ve got clean rubber gloves, wear ‘em! Roll up your sleeves and get stuck in. Slow, strong and steady works best here! After 5-10 minutes you should have approximately 1 cup of liquid at the base of the bowl.
STEP 10
Pack your jar. Gradually transfer your coleslaw medley into the sterilised jar, compressing it as you go to remove any air pockets. This creates an anaerobic environment in which the healthy bacteria can thrive.
STEP 11
Keep things submerged. Once the jar is full and compressed, pour over any excess liquid left in the mixing bowl. Wipe away any exposed bits of cabbage that are poking above the water line.
STEP 12
Make a cabbage butt bung! Find the base of the cabbage from earlier and give it a good rinse. Trim this until it fits neatly in the neck of the jar. This will act as a ‘bung’ and will help to keep things in place. If you need a little extra height to fully compress the cabbage use a bit of the central core as well.
STEP 13
Allow fermentation to kick in! Stand the jar in a bowl, and leave it at room temperature for 10-14 days before eating. Keep it away from central heating and out of direct sunlight too. It’s super important to ‘burp’ your jar each day to allow the carbon dioxide to escape; CO2 is a natural byproduct of fermentation and if too much pressure builds inside the jar there’s a risk of a ‘bang’, so do not forget this crucial step!
STEP 14
Taste and enjoy! After 10-14 days, your curried coleslaw kraut will be ready - it should be pleasantly tangy and super tasty! Now it’s ready to be popped in the fridge where it will last for up to 2 months. Use a clean spoon each time you take some, and scrape down any stray bits of cabbage from the side of the jar.
By Joey O’Hare
Joey is our Head of Food Development, running our dishes’ journeys from ideation to launch. (With lots of taste-testing in between). When she’s not cooking up a storm in our kitchen, she’s doing so in hers. After a trip to the local farmers market of course, for seasonal veg, and her swear-by-staples – extra virgin olive oil, Maldon sea salt and lemons.
Let us take care of dinner
After getting creative in the kitchen, give yourself the weekend off by letting us take care of dinner. Check out our delicious meals here.
Shop now
