Recipes


Dill Pickles 101
by Joey O’Hare
6min read
If you’ve visited the allplants instagram feed lately, you might have caught one of our instagram live cook-alongs which we’ve kicked off with a 4-part series on fermented foods. bunny
And whilst "fermented" and "bacteria" might not necessarily be top of your ingredient list, bear with us. Not only are fermented foods a delicious addition to your fridge (great as a finishing touch on pretty much every meal), they also have a whole host of gut health benefits.
Week three in our series of fermentation workshops saw us make vegan dill pickles. And let me tell you, these pickles are the real deal. Shop bought gherkins use super sharp vinegar to preserve baby cucumbers, and while there’s nothing wrong with that (we love a tangy gherkin as much as anyone!), this recipe uses natural lacto-fermentation to sour the cucumbers.
What are dill pickles?
Old school gherkins, in a word (or two). They are cucumbers which have been fermented in a garlic and dill brine. They are the most well known example of the ‘brine method’ of fermentation.
The brine method of fermenting is super straightforward, and once you have the basics mastered you can experiment with fermenting many different kinds of vegetables from carrots in a cumin infused brine, to beetroot with ginger and red chilli!
How do I eat dill pickles?
In your favourite sandwich… in a burger… in a vegan hot dog… as part of a ‘mezze’ style spread with your favourite dips and breads!
My top tip? Don’t waste the brine. This is packed with flavour and teeming with beneficial live bacteria. Use it in place of vinegar when making your favourite salad dressings.
Let us know how you get on by tagging @allplants in your creations!
Prep Time
15mins
Leave Time
2-6 days
Serves
16+
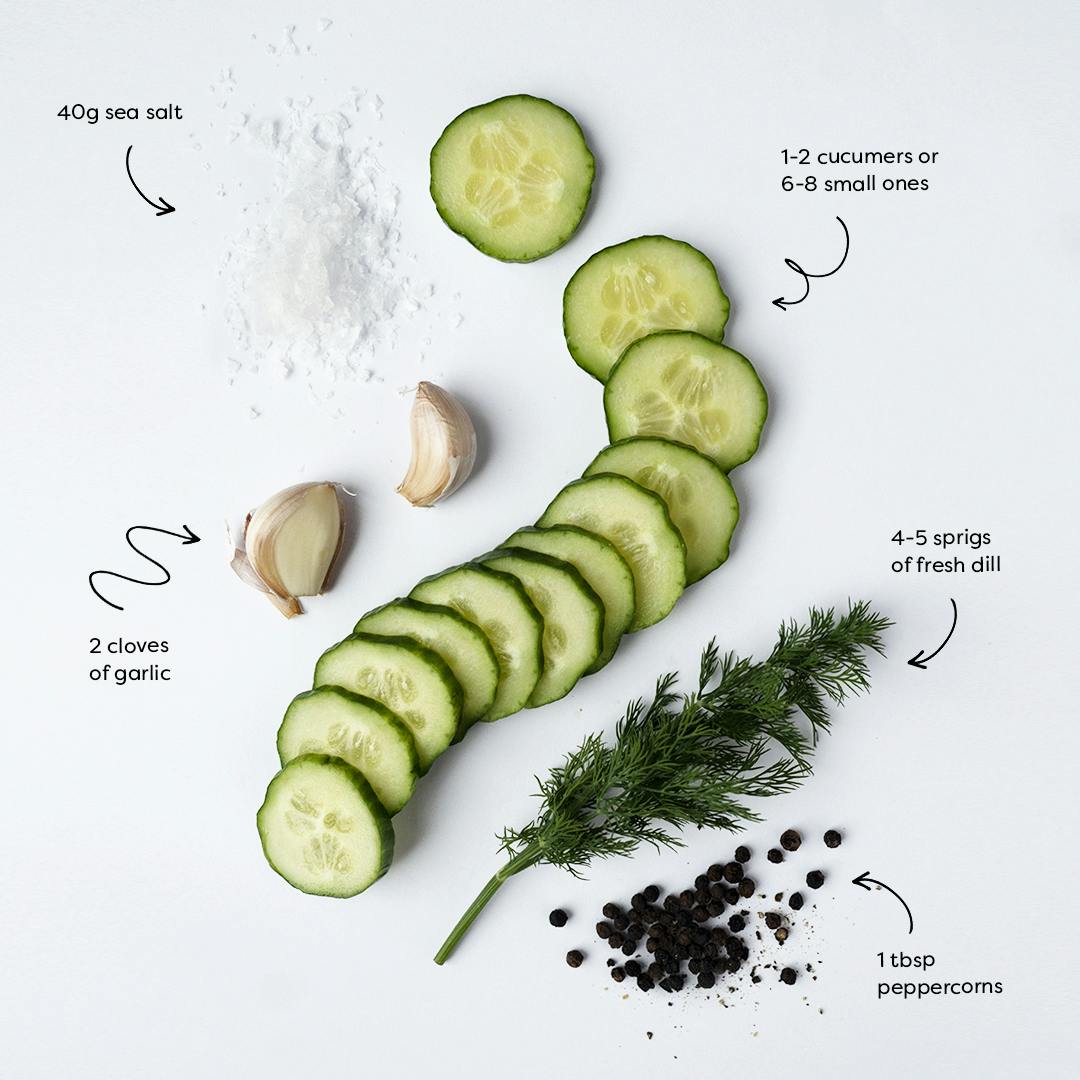
Ingredients
2 large cucumbers (or 6-8 baby cucumbers)
A small bunch of fresh dill
1 tablespoon of peppercorns
2 cloves of garlic
40g sea salt
Method
STEP 1
Work clean! As with any fermentation method, wash your hands, veggies, chopping board and knife really well. It’s key that no harmful bacteria get involved from the beginning.
STEP 2
Sterilise your 1 litre flip-top container. Preheat the oven to 140 degrees, then wash and rinse your jar. Remove the rubber seal, then pop the open jar in the oven for 10 minutes.
STEP 3
Chop your cucumbers. You can either slice your cucumbers into approximately 0.3mm thick slices, or go for ‘batons’. If you are cutting your cucumbers lengthwise into batons remove the watery core.
STEP 4
Prepare your garlic and dill. Rinse the dill under running water. Peel the garlic cloves, then finely slice into 1mm thick slices.
STEP 5
Make your brine. For the brine method of fermentation we work with a ratio of 4% salt to water. That means we need to dissolve 40g of salt in 1 litre of fresh water. To dissolve the salt more quickly simply warm the water up. Ensure the brine is cooled before using.
STEP 6
Pack your jar. Add your sliced cucumbers to the jar bit by bit, and add in a pinch of peppercorns, a sprig of dill, and a few slices of garlic with every layer. The more garlic, dill and peppercorns you pack in, the more flavoursome your brine will be.
STEP 7
Pour over the brine. Once the jar is filled, pour over the brine. It’s key that the cucumbers remain submerged below the water line. At home I use a home-made “pickle pebble” (aka a sterilised pebble which I wrap in cling film and pop on top of the cucumbers!) Alternatively, you can find pickle pebbles online.
STEP 8
Allow fermentation to kick in! Stand the jar in a bowl (just in case it spills over), and leave it at room temperature for 2-6 days before eating. Cucumbers are much softer than cabbage, hence the shorter fermentation time to our Sauerkraut. Keep your jar away from central heating and out of direct sunlight, and remember to ‘burp’ it each day to allow the CO2 to escape.
STEP 9
Taste and enjoy! I recommend tasting the pickles each day and observing how the flavour and texture change over time. You will notice that they become softer and slightly sour quite quickly. After 2-6 days, your pickles should be tasting tangy and delicious, so pop them in the fridge whenever you are happy with the level of acidity. They will last in the fridge for up to 2 months; remember to use a clean spoon each time you take some!
By Joey O’Hare
Joey is our Head of Food Development, running our dishes’ journeys from ideation to launch. (With lots of taste-testing in between). When she’s not cooking up a storm in our kitchen, she’s doing so in hers. After a trip to the local farmers market of course, for seasonal veg, and her swear-by-staples – extra virgin olive oil, Maldon sea salt and lemons.
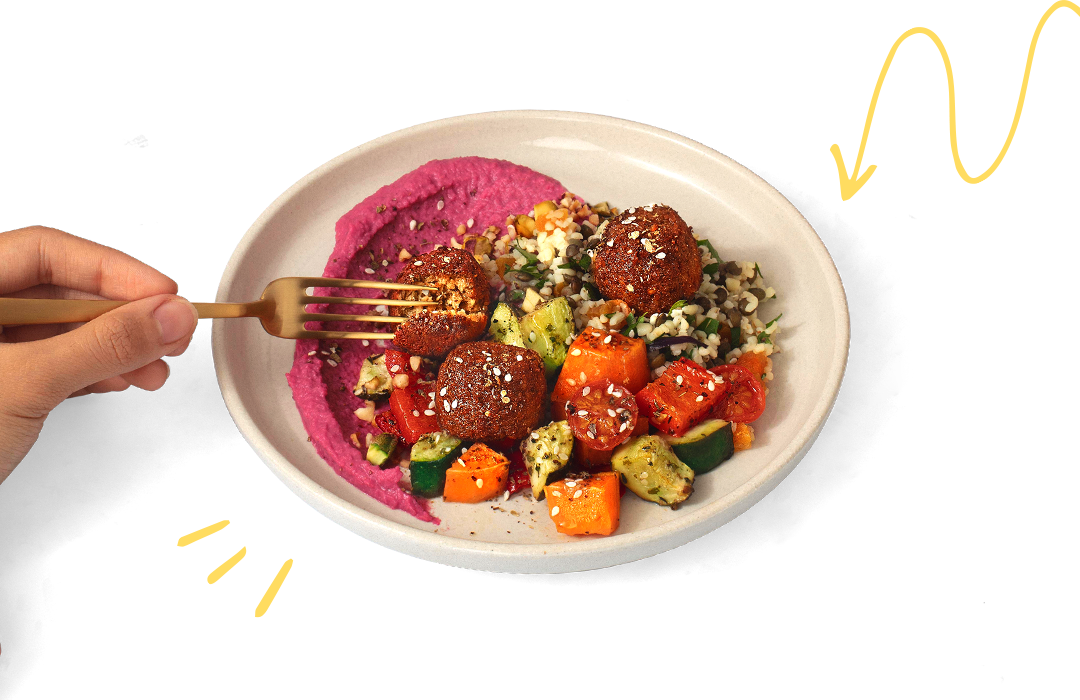
Let us take care of dinner
After getting creative in the kitchen, give yourself the weekend off by letting us take care of dinner. Check out our delicious meals here.
Shop now


, they also have a whole host of gut health benefits.})